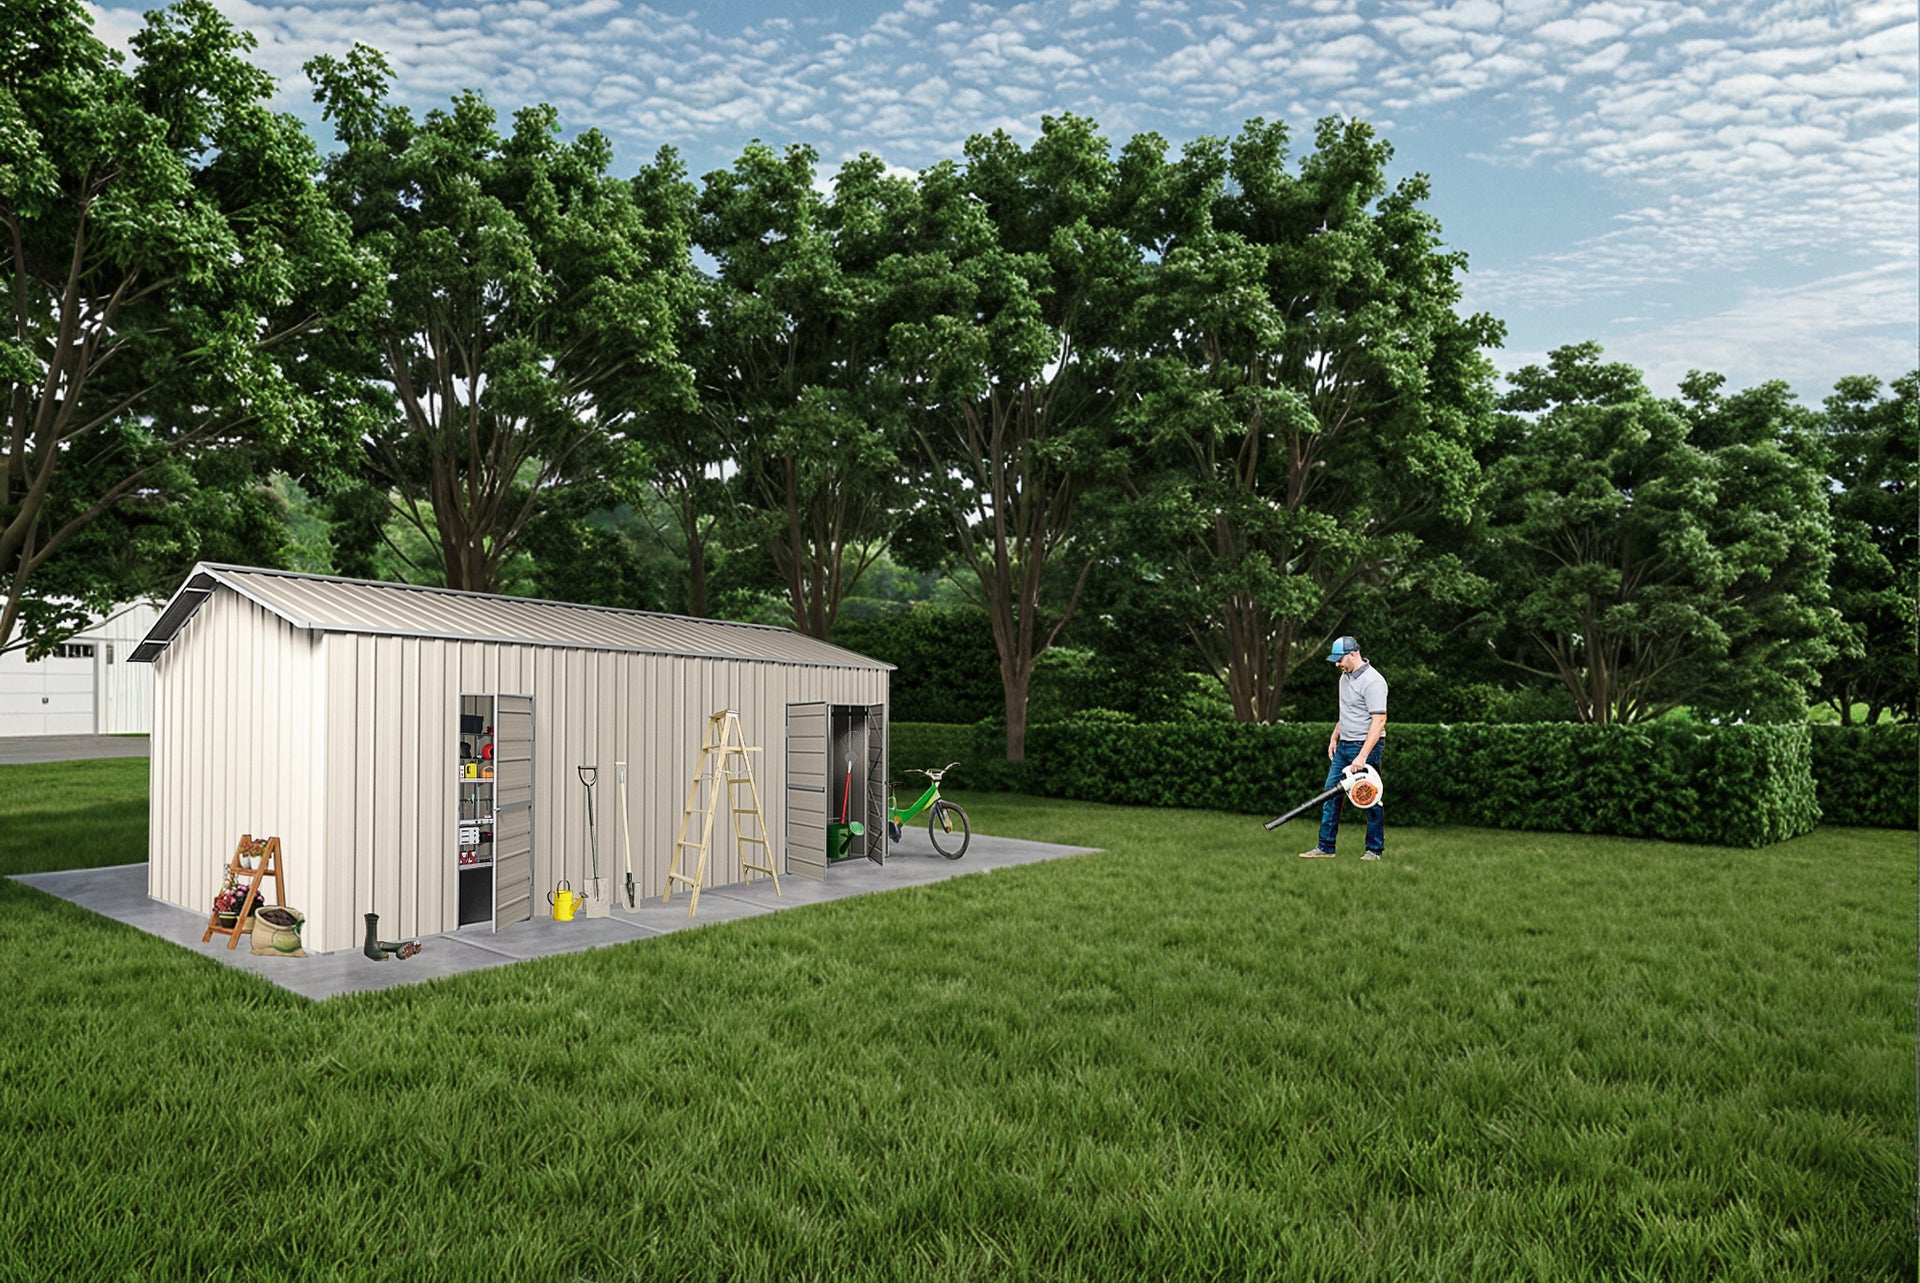
Looking for a simple, stylish, and sturdy solution for your outdoor storage needs? At Space Sheds, we believe that even the smallest garden sheds can deliver pint-sized perfection when built right. Whether you’re housing spades and rakes, bags of soil, or seasonal gear, a small garden shed offers a practical, attractive, and affordable way to maximise your backyard space. Today, we’ll guide you through how to build a small garden shed (5m2 and under) — featuring the strength, stability, and easy installation our range is known for.
Step 1: Pick the Perfect Spot
Small kits like the 1.76m x 1.76m x 1.9m garden shed, typically take about a day to assemble, but before you start, take a slow walk around your backyard and think about where your small garden shed will fit best. Do you want it tucked into a quiet corner to keep the lawn open? Or maybe closer to the house for easy access to your tools and supplies? With smaller sheds, it’s often smart to nestle them along a fence line or beside a wall — helping you save space while still keeping everything within easy reach.
Picture how the shed will look once it’s in place. Will it blend into the garden for a subtle, tucked-away feel? Or would you prefer it to stand out a little as a feature? Think about practical details too: where should the door face for the easiest access? Will you need a path to keep muddy footprints at bay?
Taking the time to choose the right spot now makes all the difference later — especially with smaller sheds, where every inch of space counts.
Step 2: Prepare the Foundation
Once you’ve picked the perfect spot, you’ll want a solid and level base to build on. Our range of small garden sheds are secured using multiple hook anchors which screw directly into the foundation, so a flat and stable surface is essential. It could be a concrete slab, a timber platform, or even pavers that are at least 1 metre larger on each side than the shed’s dimensions.
A good foundation makes everything easier and keeps your shed standing strong for years to come, so if you’re unsure, feel free to call us on 1800 960 901 for advice.
Step 3: Check Parts and Instructions
All of our small garden sheds come with easy-to-follow, step-by-step assembly instructions, complete with detailed diagrams, making installation straightforward. Before you dive in, lay out all the parts and review instructions included with your shed; taking a few minutes to get familiar with everything now will save you a lot of time later.
Step 4: Join the Panels
Now you’re familiar with the assembly process, get started by joining the shed panels together as shown in the manual. Thanks to the clever design of our garden shed’s ribbed steel sheeting, the panels are lightweight yet incredibly tough, making them easy to handle while offering serious strength once assembled. The ribbing not only looks great but adds extra rigidity to the entire structure.
Step 4: Construct Rear, Side & Front Walls
Next it’s time to build the rear, side and front walls of your small garden shed:
Rear Wall
With your panels joined, it’s time to build the rear wall section. This is one of the easier parts of the build and gives you a sturdy base to work off for the side walls.
Side Walls
Next, put together the side walls. Our deep-ribbed steel design ensures each wall locks into place securely, building a strong, stable frame that's ready to face even the harshest Aussie weather.
Front Wall
Moving to the front, build the wall that will hold your shed’s door. The small designs in our range like the 2.6m x 1.76m x 1.9m garden shed feature a hinged door with a lockable latch for simple installation and reliable strength. Once the frame is ready, fix the doors to the front panel assembly.
Step 5: Assemble the Roof Structure
Secure the roof panels into place over the walls, making sure everything lines up neatly. Once installed, the roof locks the structure together, adding even more stability and strength.
Our small garden sheds feature a skillion roof; the sleek, single-slope design not only looks modern but also allows for excellent water runoff, reducing the risk of leaks and pooling. The result? A fully enclosed, weatherproof structure that’s built to last through all seasons, protecting your tools and gear year-round with ease and reliability.
Step 6: Erect Walls & Add Roof
With your panels and roof structure assembled, it’s time to bring your shed to life. Carefully stand the wall sections upright on your prepared foundation, making sure everything lines up neatly and securely (having an extra set of hands can make this step much easier).
Once the walls are in place and fastened together, it’s time to attach the roof. Secure the roof panels over the structure, ensuring proper alignment for a tight, weatherproof seal. The roof locks the shed together, adding extra strength and completing the overall frame. Now your shed will really start looking like a shed!
Final Touches
Lastly, anchor your shed securely to the foundation using the provided guidelines. Double-check all fasteners and fittings. Thanks to our thoughtful design and clear instructions, these last steps are quick and hassle-free. Once done, give your brand new small garden shed a quick once-over and get ready to start using it!
Ready To Build Your Own?
If you’re ready to turn your backyard chaos into pint-sized perfection, it’s time to check out our range of small garden sheds. Whether you’re storing tools, garden gear, or just looking to free up some space, we’ve got the perfect DIY solution waiting for you. Shop the Space Shed’s range of small garden sheds online today!
Not sure which size suits you? Read this first: Shed Sizing: How to Pick the Perfect Shed for Your Family